Skip to content
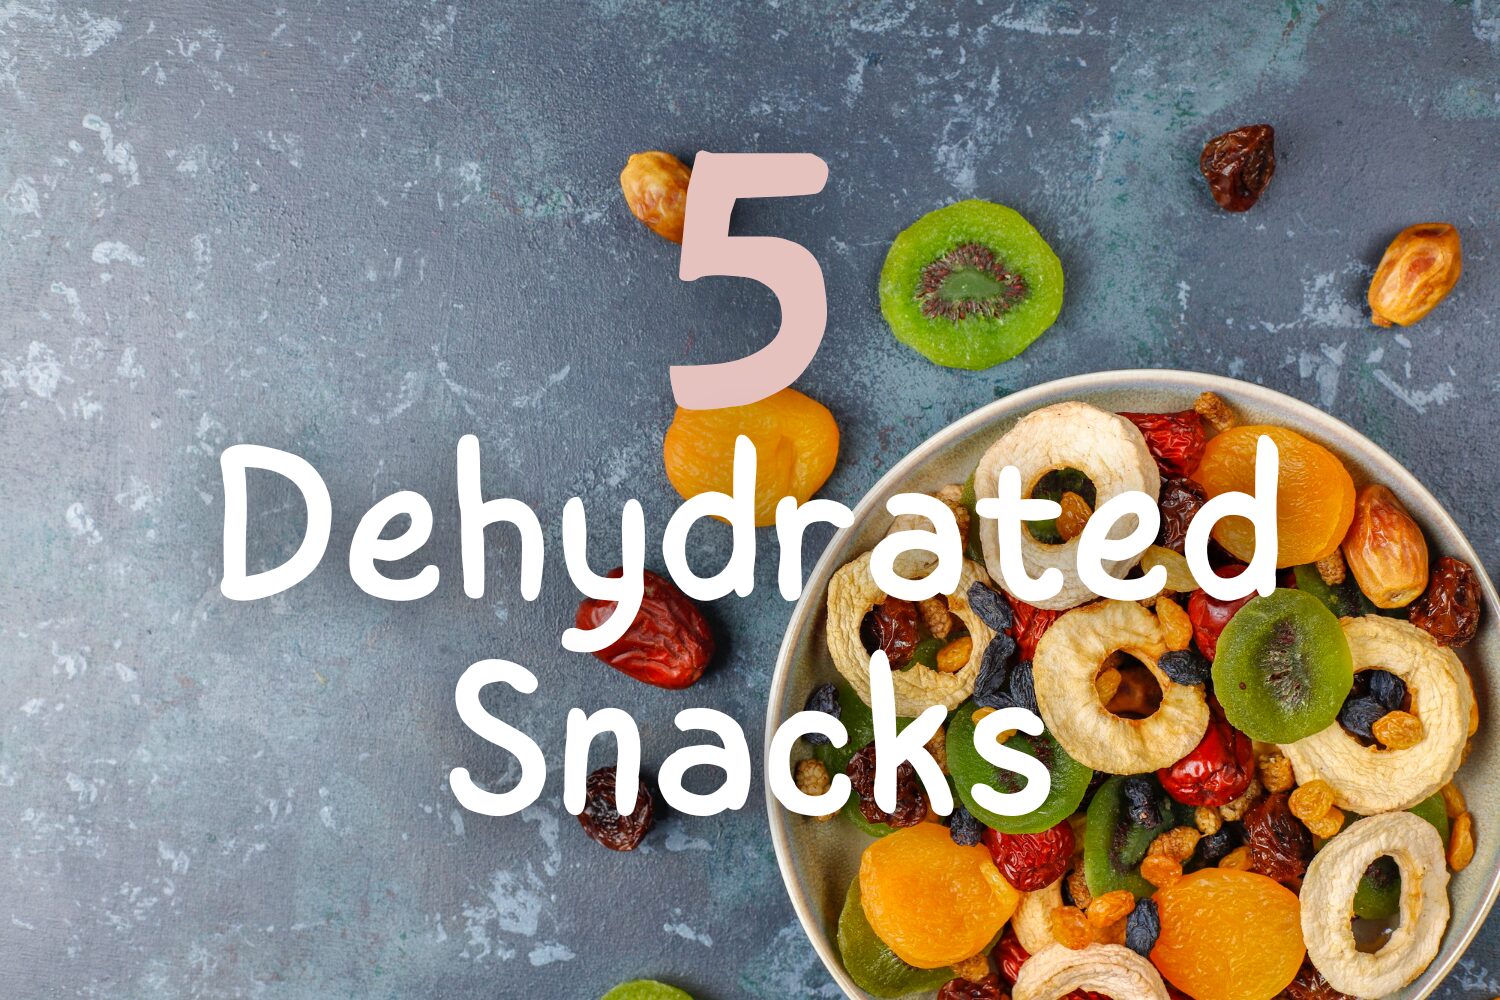
Easy dehydrated snacks recipes perfect for beginners! Learn to make apple chips, veggie jerky, fruit leather, and more with your dehydrator.
Okay, fellow snackers, if you love munching as much as I do, get ready for a game-changer: dehydration! It’s the easiest way to make your own delicious, healthy snacks. Let’s start with some super simple recipes that anyone – yes, even kitchen newbies – can rock.
I feel your pain! Finding healthy, actually satisfying snacks is a struggle. Store-bought stuff? Too much sugar, weird additives, and honestly, it gets boring fast.
Your dehydrator is your secret weapon! Suddenly, you’re in charge of what goes into your snacks. We’re talking real food, flavors you crave, and a whole lot of healthy goodness. Trust me, this is way more fun than hitting the snack aisle!
My Top 5 Easy Dehydrated Snacks
1.Your First Dehydrator Success: Apple Chips!
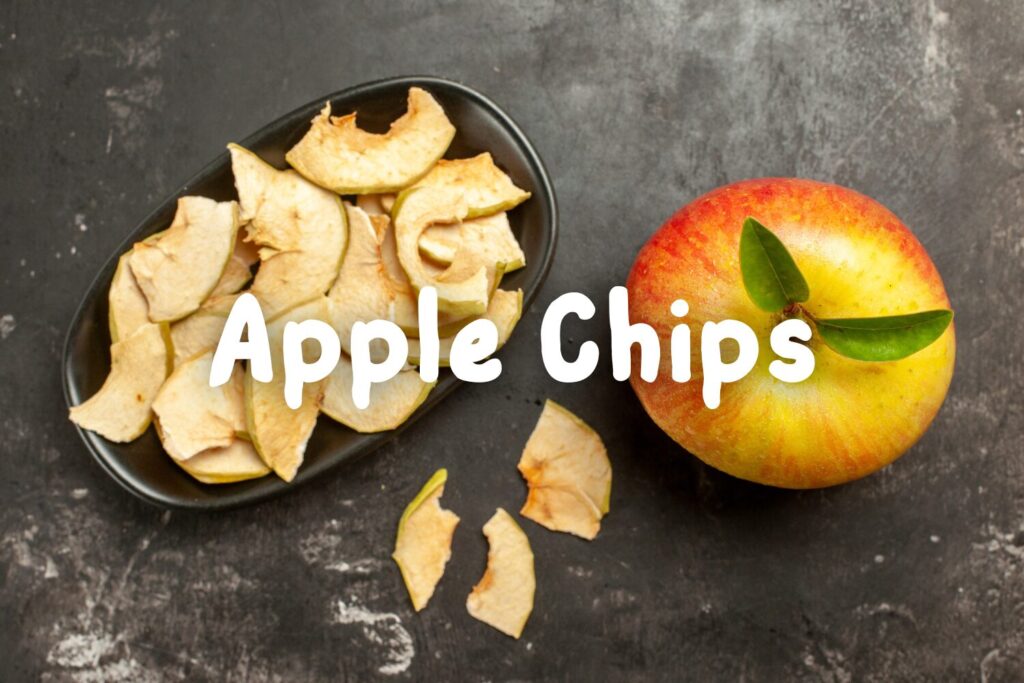
Ingredients:
- Your favorite apples (I always start with Honeycrisp for their perfect sweet-tart balance!)
- Ground cinnamon for a cozy touch
- Optional: A tiny squeeze of lemon juice to prevent browning
Let’s Make Them!
- Wash, core, and thinly slice your apples (about 1/4 inch thick). A mandoline makes this super quick, but a sharp knife works too!
- Toss the slices with cinnamon (and lemon juice, if using). Arrange them in a single layer on your dehydrator trays.
- Dehydrate at around 135°F (check your dehydrator’s manual) for 6-8 hours, or until the chips are crisp and slightly bendable.
Pro Tip: Slightly thicker slices will be chewier, while thinner ones get extra crispy. Experiment to find your perfect texture!
Variations:
- Spice it up with a pinch of nutmeg or ginger.
- Try different apple varieties – each one brings a unique flavor!
- This method works beautifully for pears and other firm fruits too.
2. Banana Roll-Ups with a Hint of Spice

Ingredients:
- Ripe bananas (the browner the better – those spots mean extra sweetness!)
- Ground cinnamon for a warm, cozy flavor
- Optional: A squeeze of lemon juice to brighten the flavor and prevent browning
Why I Love This Recipe: This takes classic banana roll-ups to the next level! The cinnamon adds a touch of warmth that makes them feel extra special. They’re naturally sweet, perfectly chewy, and a snack I feel good about.
Let’s Make Them!
- Peel those spotty bananas and mash them until super smooth. A blender makes this quick, but a fork gets the job done too.
- Stir in your cinnamon (a generous pinch!) and a squeeze of lemon juice, if you like.
- Spread the mixture onto dehydrator trays lined with parchment paper or non-stick sheets. Aim for a thin, even layer (about 1/4 inch thick).
- Dehydrate at around 135°F for 8-12 hours, or until the roll-ups are pliable and have a slightly leathery texture.
Pro Tip: Let the roll-ups cool slightly before peeling them off the trays. They’ll be easier to roll, and you can store them rolled up right on the parchment paper!
Get Creative!
- Add a swirl of peanut butter or almond butter before rolling for extra protein.
- Sprinkle with mini chocolate chips for a decadent treat (just be mindful of melting).
- Try blending in other fruit purees – strawberry-banana would be amazing!
Important Note:
Dehydrating times can vary slightly depending on the thickness of your fruit spread and the humidity in your area.
3.The Ultimate Crunchy Veggie Chips
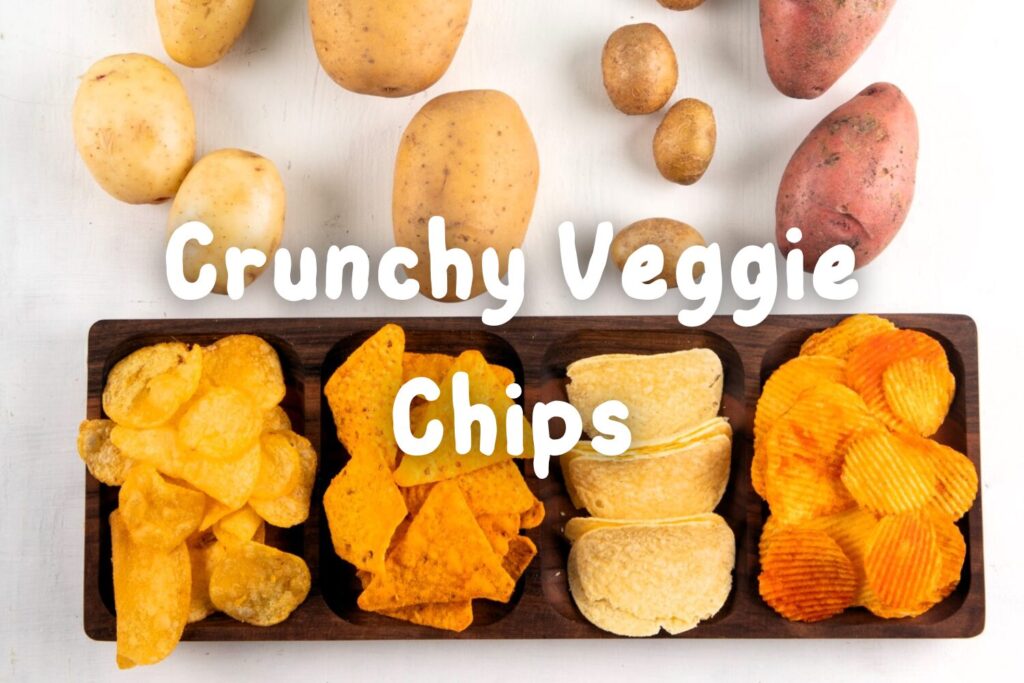
Ingredients:
- Your choice of vegetables: Kale, zucchini, sweet potato, carrots, beets… get creative!
- Olive oil or avocado oil (a light drizzle)
- Your favorite seasonings: Salt, pepper, garlic powder, Italian herbs, anything you like!
Why I Love This Recipe: It’s the easiest way to make those addictive veggie chips at home, with way less oil and far more flavor control than store-bought ones. Plus, you can use up any veggies about to go soft in the fridge!
Let’s Make Them!
- Wash and prep your veggies. Here’s the key: Slice them super thin and evenly! A mandoline is ideal, but a sharp knife and steady hand work too.
- Toss the slices with a tiny bit of oil and your chosen seasonings. Spread them in a single layer on your dehydrator trays.
- Dehydrate at around 125°F (check your dehydrator’s manual) until completely crisp. This can take 4-8 hours depending on the vegetable and thickness.
Pro Tip: Different veggies have different water content. Keep an eye on them, and remove any chips that are completely dry before the others to avoid burning.
Variations:
- Get spicy! Add a pinch of cayenne or chili powder.
- Ranch flavor fan? Try dried dill, parsley, and a touch of onion powder.
- Keep it simple with just sea salt and cracked black pepper.
Important Note:
Dehydration times will vary. Let the crispness be your guide, not just the timer!
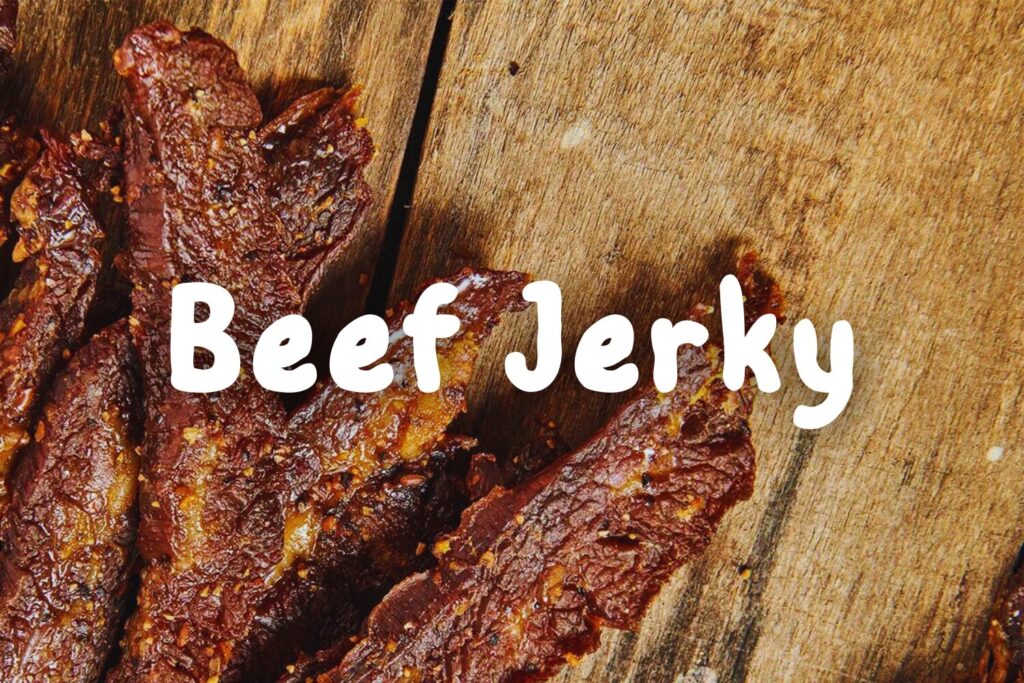
4.Classic Beef Jerky: The Ultimate Protein-Packed Snack
Ingredients:
- Lean beef (top round, flank steak, or other lean cuts)
- Marinade: Soy sauce, Worcestershire sauce, honey (or brown sugar), your favorite spices (garlic powder, onion powder, black pepper, etc.)
Why I Love This Recipe: It’s homemade jerky at its best! Flavorful, satisfying, and perfect for on-the-go snacking. Plus, you control the ingredients, so it can be healthier than store-bought jerky.
Let’s Make It!
- Prep the beef: Slice against the grain into thin strips (about 1/4 inch thick). The thinner the slices, the faster they’ll dry.
- Craft Your Marinade: Here’s the base, but get creative!
- Soy sauce (low-sodium is good for controlling saltiness)
- Worcestershire sauce
- Honey or brown sugar (for a touch of sweetness)
- Garlic powder
- Onion powder
- Black pepper
- Dehydrate: Arrange the slices in a single layer on dehydrator trays. Dehydrate at around 160°F for 4-8 hours, or until the jerky is dry and bends without snapping.
Variations:
- Classic Teriyaki: Swap some of the soy sauce for teriyaki sauce and add a pinch of ground ginger.
- Spicy Kick: Add a dash of cayenne pepper, red pepper flakes, or your favorite hot sauce.
- Smoky Twist: A tiny bit of liquid smoke imparts a delicious campfire flavor.
Pro Tip: Taste your marinade before adding the beef. Adjust the sweetness, saltiness, and spice level to your liking!
Important Notes:
- Meat Choice: Using lean cuts is key for the best texture.
- Food Safety: Dehydrating meat requires extra care. For safety reasons, it’s crucial to preheat your dehydrator to 160°F for 30 minutes before adding the beef. This helps eliminate any bacteria. Additionally, use a meat thermometer to ensure the beef reaches an internal temperature of 160°F (for beef jerky) or 165°F (for poultry jerky) before the dehydration process begins.
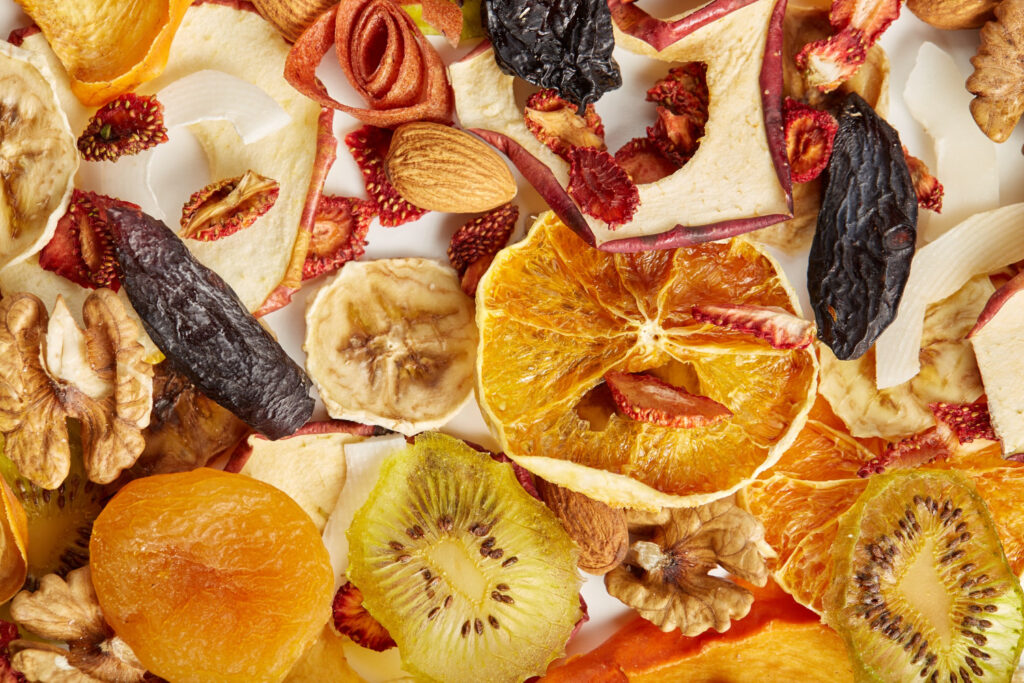
5.Homemade Fruit Leather: A Celebration of Red Fruits

Ingredients:
- Fresh or frozen red fruits of your choice: Strawberries, raspberries, cherries, red plums – create your perfect red medley!
- Lemon juice (optional, for color and brightness)
- Honey or maple syrup (optional, for extra sweetness)
Why I Love This Recipe: Summer’s bounty of red fruits shines in this delicious fruit leather. It’s a fun way to preserve the season’s flavor and enjoy a healthy, portable snack anytime!
Let’s Make It!
- Fruity Prep: Wash, hull or pit your red fruits (depending on the variety). Blend them until smooth. If using strawberries, a quick pulse might be needed first to break them down before pureeing. Taste and add lemon juice or a touch of sweetener if desired.
- Spread and Dehydrate: Line dehydrator trays with parchment paper or non-stick sheets. Spread the fruit puree thinly and evenly (about 1/4 inch thick). Dehydrate at around 135°F for 6-10 hours, or until the leather is pliable and slightly tacky but not sticky to the touch.
- Roll and Store: Let the fruit leather cool completely. Carefully peel it off the parchment paper and roll it up. Slice into strips or store the rolls in an airtight container.
Pro Tip:
Experiment with different combinations of red fruits! Here are some ideas:
- Classic Strawberry: Puree just strawberries for a sweet and tangy fruit leather.
- Berry Blast: Combine strawberries, raspberries, and blueberries for a vibrant mix.
- Cherry Delight: Use sweet cherries and a touch of almond extract for a sophisticated twist.
Bonus Tip:
For a beautiful presentation, sprinkle a tiny bit of chia seeds or finely chopped nuts onto the fruit puree before dehydrating.
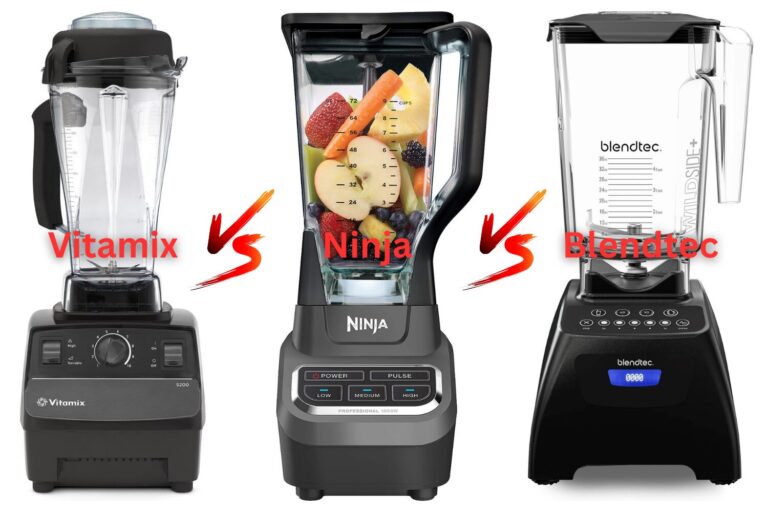
My Dehydrator Journey: A Beginner’s Guide to Finding the Perfect Machine

- My First Dehydrator: The COSORI Experiment I started my dehydrating adventures with the COSORI Food Dehydrator. This affordable and user-friendly model was perfect for learning the basics. If you’re just getting started, check out the COSORI or similar models on Amazon.
- The Learning Curve (and My Chewy Beef Jerky) Don’t worry, not every batch will be perfect! My first attempt at beef jerky was a bit…toothsome. Turns out, thicker slices aren’t ideal for drying. Lesson learned: Thin and even slices are your friend for the perfect snack!
- Upgrade Dreams: The Excalibur Advantage Now that I’m hooked, I’m considering upgrading to the Excalibur Electric Food Dehydrator. I’ve heard amazing things about its precise temperature control, larger capacity, and overall features – serious dehydrating power!
- Why I Love Dehydrating:
- Flavor Control: Get creative with your snacks! From sweet and spicy fruit roll-ups to savory herb-infused veggie chips.
- Healthy Snacking: Ditch the processed snacks and create your own satisfying and nutritious treats.
- Reducing Food Waste: Turn overripe fruits and extra veggies into delicious snacks.
- Surprisingly Fun: There’s something satisfying about dehydrating your own food, and the results are always delicious!
Beginner’s Tip: Start with a simple dehydrator to learn the ropes. Don’t be afraid to experiment with flavors and ingredients. Most importantly, have fun!
Conclusion: The Power of Dehydration – It’s Your Snacking Revolution!
Think about it: perfectly portable snacks, less food going to waste, and YOU in the driver’s seat of flavor. Dehydrating isn’t just about a few recipes, it’s a whole new way to approach snack time. Here’s why you should give it a go:
- Healthy Snacking, Anytime: Wave goodbye to mindless munching and hello to nourishing treats ready when you are.
- Food Waste Warrior: Those almost-forgotten fruits and veggies? Now they’re delicious snacks with a longer shelf-life.
- Creative Flavor Control: Sweet, savory, spicy, or a combo you invent – your dehydrator is your flavor lab.
Ready to join the snacking revolution? Which of these recipes will you tackle first? Let’s chat in the comments!
Want More Wellness Inspiration?
- Check out my roundup of my top health and wellness gadgets.
- Did you know the Instant Pot can do way more than stew? See my full review.
Your Dehydrating Questions, Answered!
Got questions about dehydrated snacks? From beginner basics to creative ideas, we’ve got answers.
Beginner-Focused FAQs
- What is the best dehydrator for beginners?
- Great question! I started with a simple, stackable dehydrator like the COSORI or the Nesco Snackmaster. They’re affordable, easy to use, and perfect for figuring out if you love dehydrating before making a bigger investment. You can usually find them on Amazon! If you’re ready for more features, like precise temperature control and a larger capacity, brands like Excalibur are amazing, but a bit pricier.
- Can you dehydrate any food?
- Not quite any food, but way more than you might think! Fruits and veggies are obvious stars, but did you know you can dehydrate meat for jerky, make your own fruit leathers, or even dry fresh herbs? Just be sure to research the safe temperatures and prep for each specific food.
- How long do dehydrated snacks last?
- This depends on the type of snack! Dehydrated fruits, if stored properly in an airtight container, can last for months (sometimes up to a year). Jerky lasts a few weeks at room temperature, or even longer in the fridge. Always inspect your snacks for signs of mold before eating, just to be safe.
- Are dehydrated snacks healthier than store-bought?
- Absolutely! When you dehydrate your own snacks, you control the ingredients. No weird additives, less sugar (or none at all!), and you can adjust flavors to exactly what you like. Way better than grabbing a highly-processed bag of something off the shelf.
- Is using a dehydrator difficult?
- Not at all! Most dehydrators are as simple as slicing your food, arranging it on the trays, and setting the temperature and timer. The hardest part is patiently waiting for your snacks to be ready. There might be a bit of trial and error at first, but that’s part of the fun!
Recipe-Specific FAQs
- How to make beef jerky in a dehydrator?
- Choose Your Cut: Lean cuts are key – think top round, flank steak, etc. Slice thin (about 1/4 inch) and against the grain for the best texture.
- Marinate Magic: Soy sauce, Worcestershire, spices, a touch of sweetness… get creative! Marinate your beef at least a few hours, or overnight for maximum flavor.
- Dehydrate: Arrange slices on trays in a single layer. Dehydrate at around 160°F for 4-8 hours, or until the jerky bends but doesn’t snap.
- Important: Preheat your dehydrator to 160°F for 30 minutes before adding the beef for food safety!
- Can you dehydrate fruit without added sugar?
- Definitely! The natural sweetness of fruit is all you need for delicious dehydrated snacks. If you like things extra sweet, try very ripe fruits, or add a tiny drizzle of honey before dehydrating for a touch of added sweetness.
- What are the best fruits for making fruit leather?
- Berries of all kinds (strawberries, raspberries, blueberries), apples, mangoes, peaches… the possibilities are endless! You can use single fruits, or create your own flavor blends (strawberry-banana is a classic!). Ripe or even slightly overripe fruits work best – they’re the sweetest!
- Do I need special equipment to make veggie chips?
- Nope! Your dehydrator and a sharp knife or a mandoline (for super thin slices) are all you need. A mandoline will give the most uniform slices, which means even drying and crispy chips all around.
- Can you make banana roll-ups in a dehydrator?
- Absolutely! Mash very ripe bananas until smooth, spread them thinly on parchment paper-lined dehydrator trays, and dry until they become a leathery texture. You can add cinnamon or a squeeze of lemon juice for extra flavor if you’d like. Roll ’em up, and you’ve got the perfect portable snack!
Beyond the Basics FAQs
- Can I use a dehydrator to preserve herbs?
- Absolutely! Dehydrated herbs retain their flavor beautifully. Dry them on low heat in your dehydrator until completely crisp, then store in airtight containers for later use in recipes. This is a great way to use up herbs before they go bad!
- Are dehydrated snacks good for hiking?
- They’re amazing for hiking! Dehydrated snacks are super lightweight, pack a punch of energy, and won’t get squished in your backpack. Homemade jerky, fruit leather, and trail mix made in your dehydrator will seriously upgrade your hiking snack game.
- Can dehydrating help me save money on groceries?
- Definitely! It’s a great way to use up those about-to-turn fruits and veggies, preventing food waste and saving you from tossing them out. Plus, making your own snacks is often cheaper than buying pre-packaged ones.
- What are some unusual snacks you can make in a dehydrator?
- Get ready for some fun! You can dehydrate seasoned chickpeas for a crunchy snack, make cheesy Parmesan crisps, or even dry slices of tomato for a burst of summer flavor later in the year. The possibilities are surprisingly endless!
- Is there a difference between a dehydrator and an air fryer?
- Yes! While both use hot air to cook food, they work differently. Dehydrators operate at lower temperatures and remove moisture to preserve food. Air fryers cook food quickly at high heat using a powerful fan, creating a crispy exterior similar to deep-frying.